How to Install Hard Wired Internet?
Wireless internet connectivity is becoming increasingly popular throughout the world. But if you are a gamer or a content creator, you might know the importance of having a hard-wired internet. It is still a much better option than wireless connectivity if your preference is speed. Fortunately, installing it in your home is pretty easy and straightforward.
For successfully installing a hard-wired internet in your home, first, you will have to choose a particular setup of hard-wired internet. Then you will need to pick the appropriate number of ports that you will need. After that, you will have to purchase an ethernet switch. Finally, you will have to run the cables and plug them in.
I’ve mentioned the basic steps of installing hard-wired internet in your home or office, and now I’d like to provide some valuable insights into this topic. In this article, I will extensively discuss How to install hard-wired internet. For a better understanding of this topic, it would be wise to read through the whole article.

How to Install Hard-Wired Internet

There are many procedures available for you to install hard-wired internet in your home. But in this article, I will explain one of the easiest and most straightforward ways.
Basically, what you will need to do is disconnect the WIFI network that you use and install the appropriate number of cables (ethernet) from the switch or modem that you will need to purchase. The steps are explained below.
Step One: Find Out the Type of Setup You Own
Almost every authorized internet service provider will give you a switch or modem for providing internet service at your home. What you will get varies greatly as every ISP follows different protocols while installing the devices that will provide the internet.
Now, a modem is basically a hub that is used to plug various cables (especially coaxial cables). Your internet service provider should give you a bunch of cables for free, but you can also buy them from almost any hardware store. The coaxial cables will be used to carry connections from either a satellite (if your network is based on a dish) or a cable box.
These days, many modems are manufactured in such a way that they can also be used as a router. That means the modem you own might already have a WIFI cheap built-in. Such devices can be considered as a 2 in 1 modem/router unit. If you live in a city, the possibility of having such devices is very high.
That means your first task should be determining the type of modem you own. While installing the internet connection at your home, some papers were surely provided to you. Check that paper and you should find the modem type under the “Device Section”. In some cases, the modem type is directly written on the body of the device.
However, if you are unable to determine the modem type, you can always call and ask your internet service provider. If your device is 2 in 1 modem\router unit, your next task would be disconnecting the WIFI of the device.
In most cases, you will find a “Disable WIFI” button right on the body of the device. But this feature isn’t available on all the routers out there. If you are stuck, just type the model of the device and write “How to disable WIFI”. It is really not a hard thing to do and you will surely find some easy and straightforward instructions.
If you want, you can also buy a router of your choice. But keep in mind that all routers will not be compatible with the internet service you use. So, before purchasing, call your ISP and they should provide you a list of routers that are compatible. Personally, my favorite router is NETGEAR. But again, check the compatibility before buying.
After you successfully disable the WIFI connectivity of your router, you have to decide how many ports you will need to install the hard-wired internet.
Step Two: Determine the Number of Ports You Will Need
In this step, you have to determine the number of ports you will need for providing a hard-wired internet connection all-over your home. First, take a piece of paper and a pen. Draw a basic overview of your house and mark the location of the router first. It would serve you best if the modem/router is located at the center of your home.
Now, mark the number of ports you will need in different rooms of your house. For example, you might have a TV in your living room, so you will need only one connection for that location. In your bedroom, you might need two, and so on.
Step Three: Purchase a Switch (Ethernet switch)
In this step, you will have to purchase and place an appropriate switch. Don’t worry, it is very simple and straightforward to install a switch.
Basically, an ethernet cable will be connected to the first port of the switch and the modem/ router. That will make all the other cores active and you will be able to carry internet connectivity from those cores to all-around your house via coaxial cables.
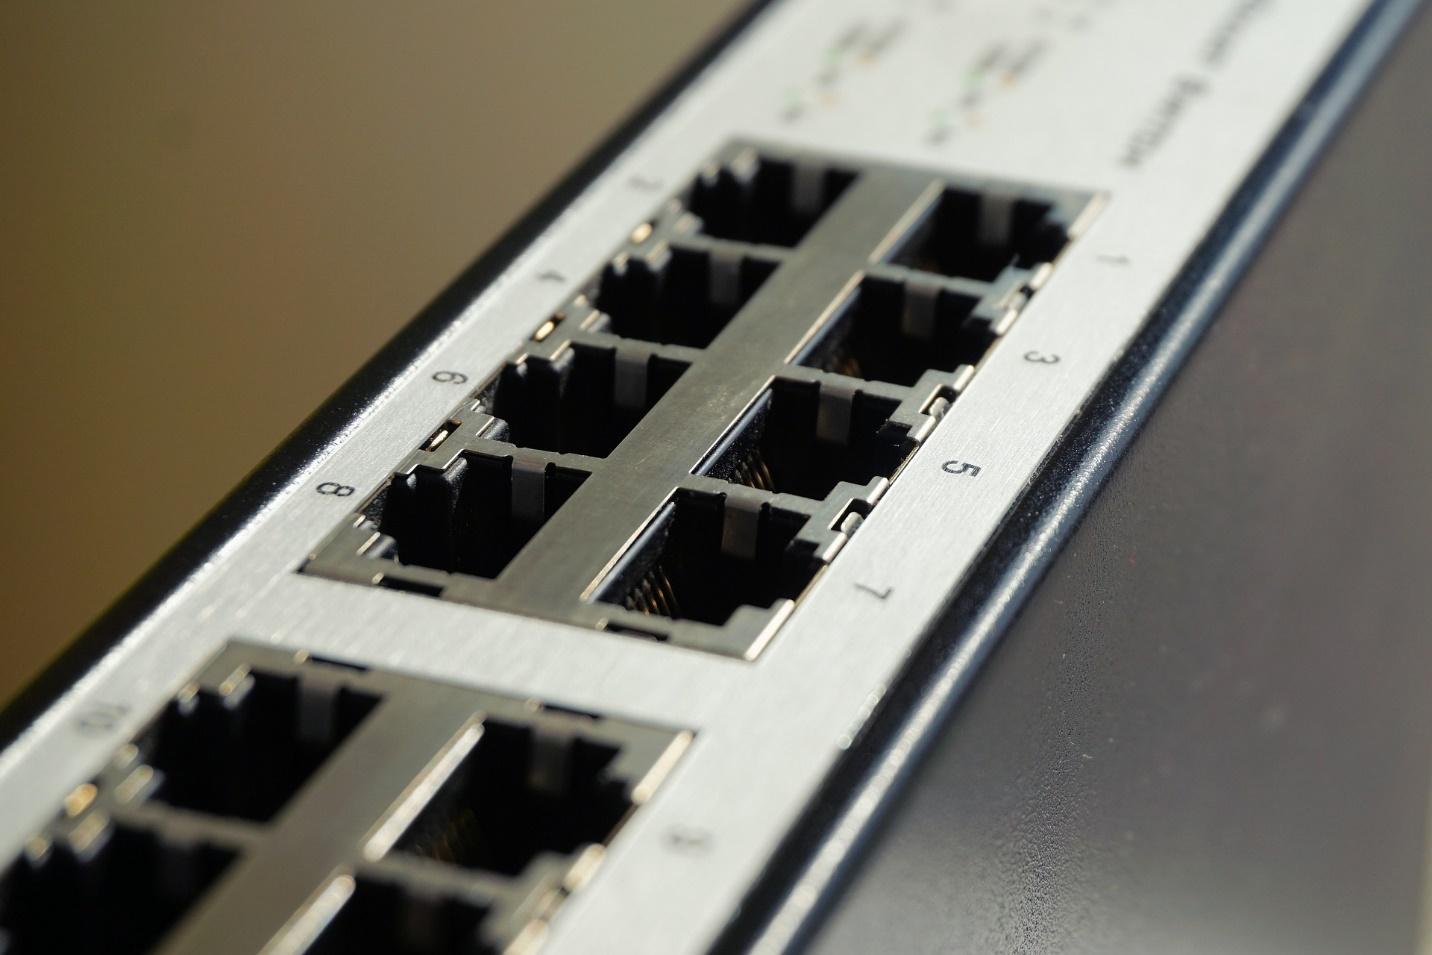
There are various switches available in the gadget stores for you to buy. You will have to pick the right switch depending on the number of ports you will need. If you only need a single port, you won’t be needing any switches whatsoever. Just plug in the coaxial cable in the first port of the modem, and connect one other part of the cable to the device that you desire.
Most of the modem comes with only one port, so for providing internet connectivity to multiple devices, you must use a switch. You will find switches with 16, 8, and 5 ports. While picking the perfect switch for your home, keep in mind that one port will be used for supplying internet from the router. So always subtract one before buying.
After purchasing the switch, you have to connect it with the router. You should be given a very small coaxial cable by your internet service provider. Use that cable for the router and switch connection as using a long cable in this case would be a waste. Before connecting the coaxial cables, make sure the modem was turned on.
Step Four: Run the Cables
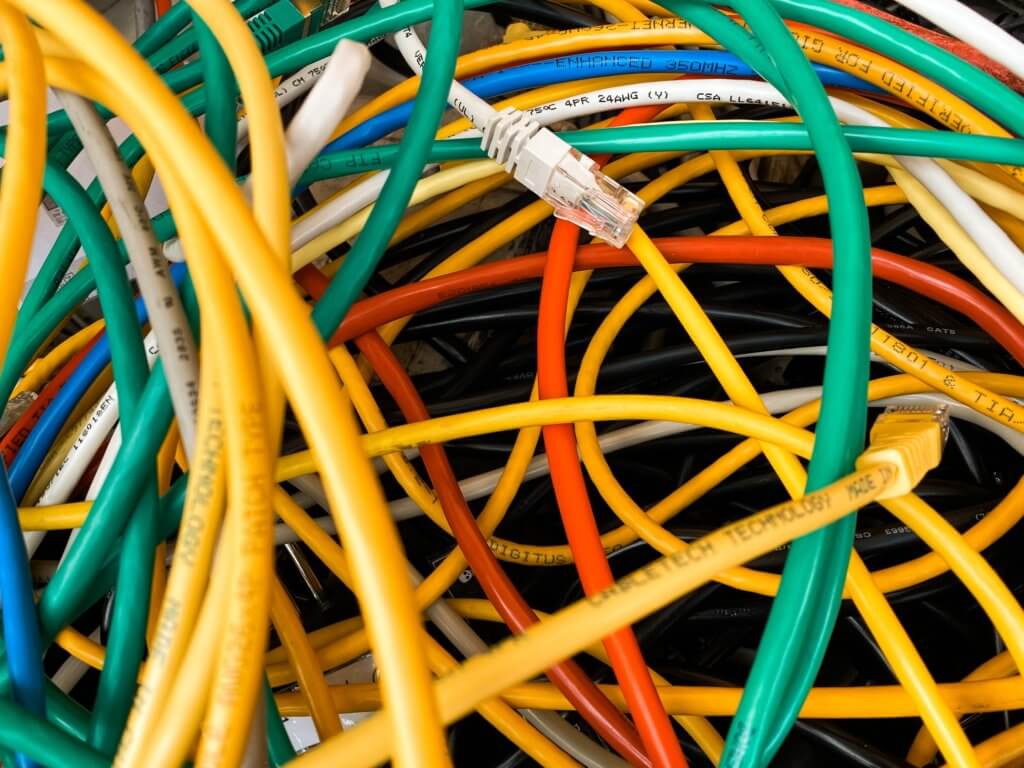
After successfully executing all those steps, it is time for you to buy some ethernet cables. There are various cables out there, but I will always recommend you to buy shielded cables as they will provide good protection to the internals and will ensure lossless and fast internet connectivity.
You should also know that most electrical devices spread radiation which is produced due to electromagnetic force. A shielded cable will reduce that harmful radiation pretty much to zero.
The length of the cables completely depends on the size of your house and how far the electrical devices are placed from the router. Just keep in mind that the price will increase with the length of the ethernet cable.
For example, let’s say you will provide internet connectivity to 6 different devices. You have to simply connect one part of the cable to the ports of the switches and the other part to the ethernet port of the devices.
Now, how you want to manage the cables is completely up to you. I have seen people run the ethernet cables up and over the couch, under the coffee table, and then just across the floor. But most lightly if you do that, your spouse is going to punch you in the face. So, it is better if you route the ethernet cables nicely.
One of the neatest ways to route the ethernet cables is to run them over the door frames. Most of the door frames have enough room for the cable to go through, but if they don’t just drill a hole.
You will find various clips and pins that hold the cable on the wall of your house. There are no proper guides to cable management, you have to make some decisions depending on how your house is designed.
Another awesome way to stick the cables on your wall is using a hot glue gun. If you can perform it perfectly, the whole connection will look very good and neat; even neater than using pins or clips.
Whatever you do, at some point you might have to run the cables across the floor. And you won’t want the cables to get squeezed or damaged as it will make the internet slow or in worse cases, you will lose the internet connection completely. For protecting the cables from being damaged, use a cable guard. You will find various types of guards online.
Step Five: Plug-In the Ethernet Cables to the Devices
After routing the ethernet cables, all you need to do is plug them in inside the devices and turn on the modem. And that’s it, you now have a hard-wired internet connection in your home. Just turn off the WIFI before plugging in the cables as these signals might interrupt the main connection.
Some Cable Management Tips
While managing the cables, you will have to keep a few things in mind to save yourself from future hassles.
- Label all the Cables Properly
One of the obvious things that people should do but often skip is labeling the cables. Trust me, labeling cables of different gadgets will greatly help you in the future. It will also differ the ethernet cables from the telephone ones. You can label the cables as “TV Ethernet”, “Computer Ethernet”, and so on.
- Measure the Length Properly
Before buying an expensive ethernet cable with protective shields, always measure the length properly. Keep in mind that cables are not cheap and every extra foot will be a big waste of money for you. On top of that, extra cables hanging from your wall won’t look good at all.
- Don’t Squish or Bend the Cables Sharply
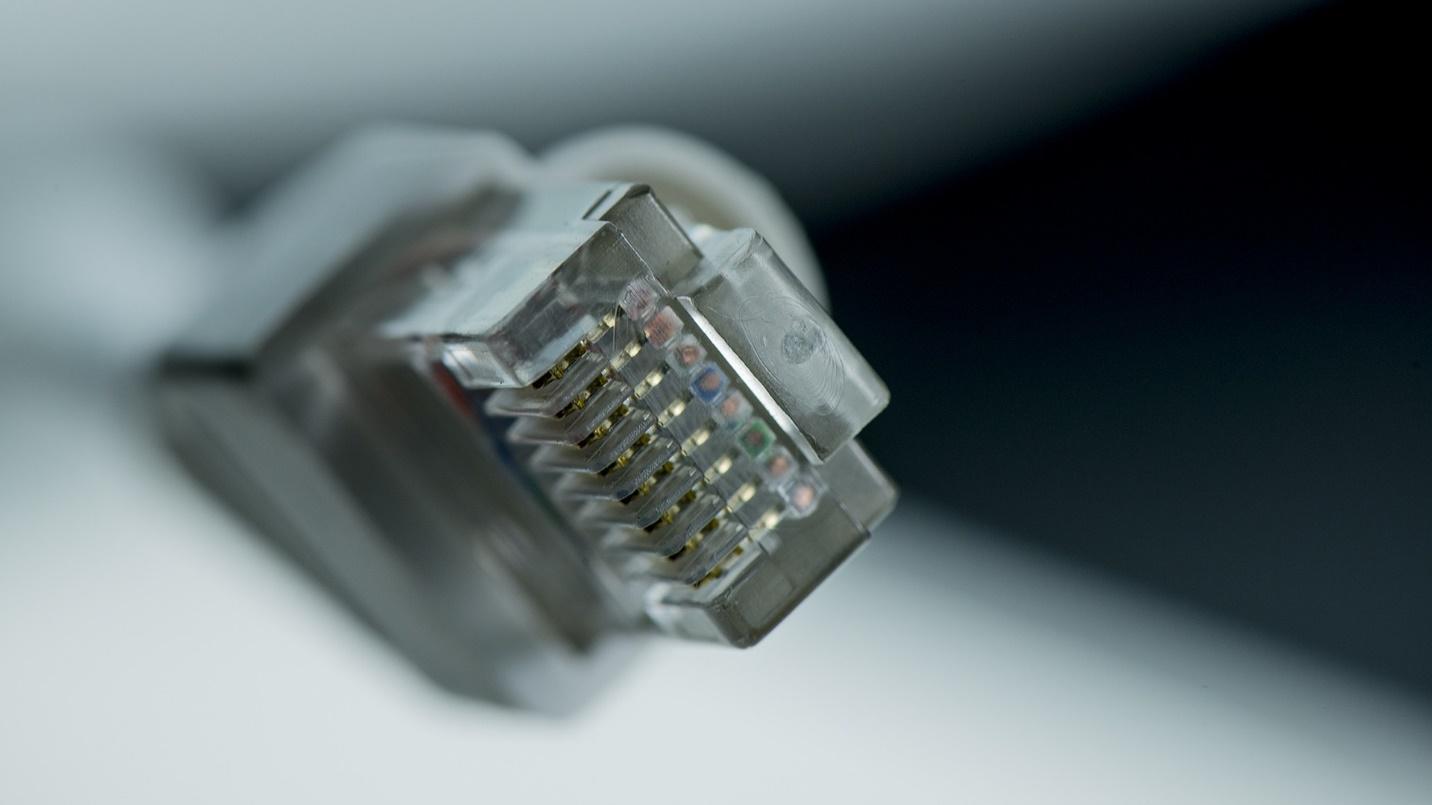
Cables might seem pretty strong and robust, but sharply bending them is not a good idea at all. There are four twisted wire pairs within the cable. And there’s a plastic cross in the center of these four wires. Each pair of wires is essentially twisted together and the different wires twist each other.
This design gives the ethernet cable its high speed. So, the first thing you want to avoid is crushing the cables as this will mush the twisted wires inside the cable flat. It will greatly reduce signal integrity. So, you don’t want to drive over an ethernet cable with say a desk chair and to prevent such accidents, use a cable guard.
Secondly, when you are routing cables, do not give it a sharp turn as this will also squish the wires inside and you may have problems with the speed of the cables and eventually you will break the copper wires inside. It will completely disconnect you from the internet.
So, whenever you have to change directions, you will have to gently curve it. You should find the maximum curvature limit of your cables on its paperwork.
- Do Not Purchase Cheap Cables
One of the most important things you need to do for making your hard-ware internet setup future proof is avoiding cheap cables. Most of the cheap products you will find have a very low amount of shield protection and the diameter of the copper cores of those cables is very low. They are fragile and will noticeably slow down your connectivity. So always buy cables of good reputation brands.
Conclusion
As you can see, setting up a hard-wired internet connection in your home is very simple and straightforward. Hard wired internet is essential for any EMF conscious individual. If you are concerned about the effects of EMF then hardwired internet is the only way you can get internet in you home without the use of EMF protective gadgets.
In this article, I have extensively discussed how to install hard-wired internet. Hopefully, after reading the whole article, you will be able to successfully install a hard-wired internet connection in your home.